How to Grow Damaged Nails in One Month
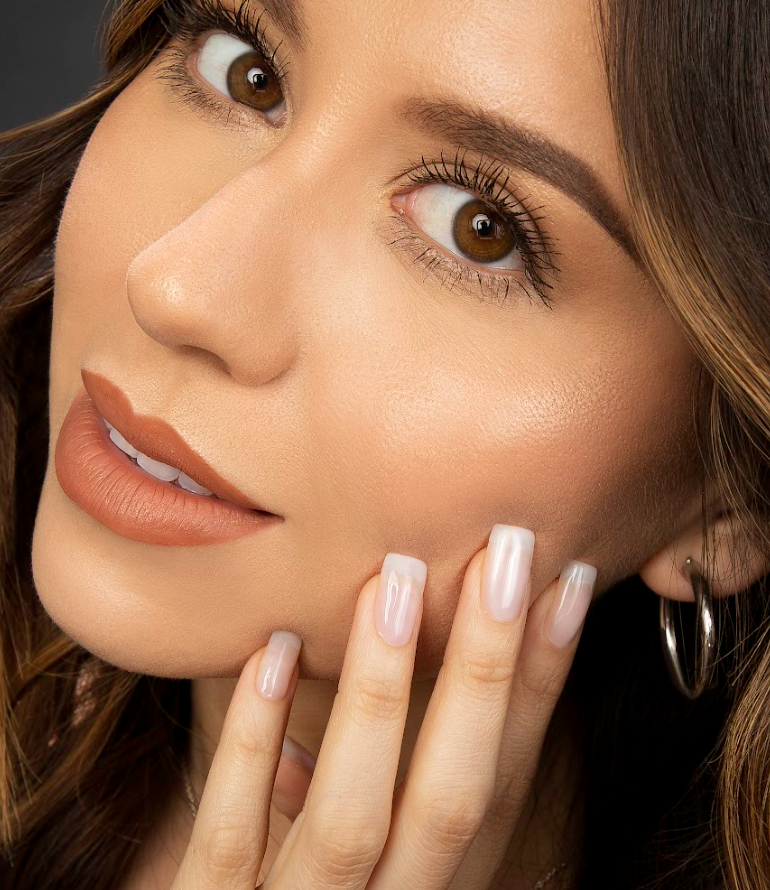
Hands can be a beautiful indicator and storyteller of someone’s experiences and interests. Maybe there is a scar from learning to ride a bike, sun freckles from a farmer, or wrinkles from a beloved grandparent; whatever it is, our hands tend to draw the eye’s attention. And on those hands, of course, are your nails. You might notice someone’s nails when they tell an enticing story or hold a glass to their lips during a conversation. Whichever it may be, our hands carry a lot of attention. However, this attention can be unwanted when struggling with nail growth and damage. Keeping my nails strong and healthy makes me feel empowered, and I want you to have that same empowerment. Nail damage has many sources, so I’ve developed a process to help grow healthy and strong nails.
Apply Nail Plump for Stronger Nails
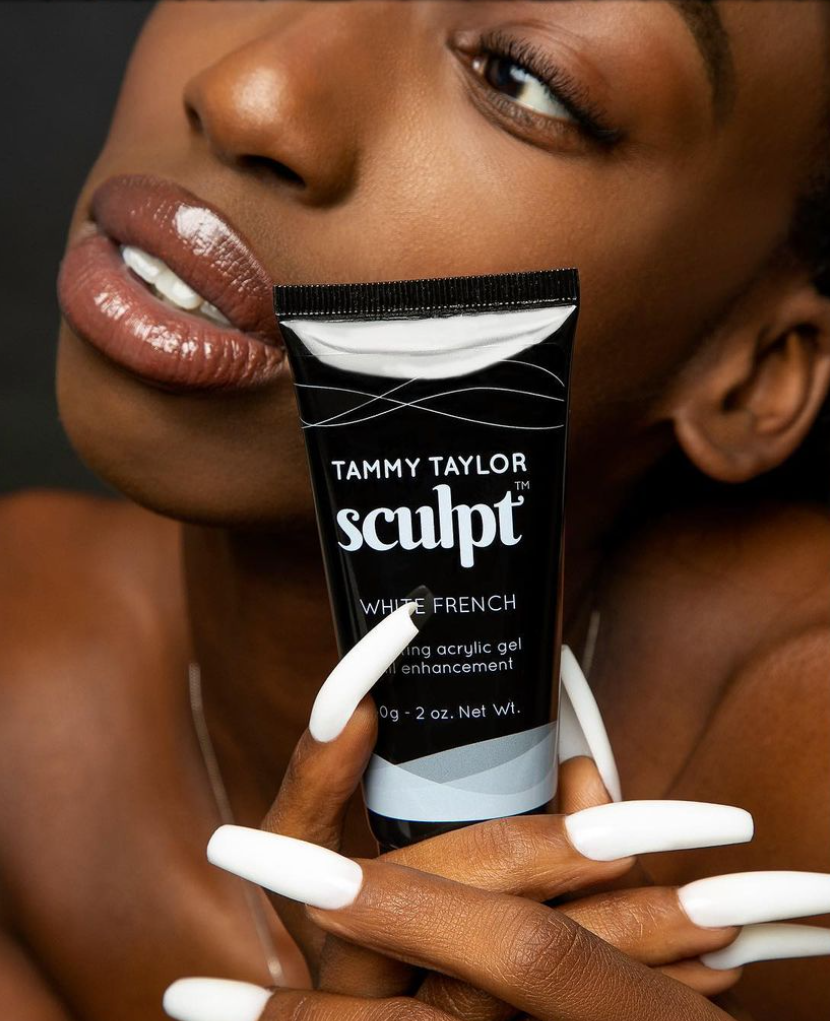
Damaged nails need a strong base gel to support nail growth. Nail Plump is a strong, thick base gel that hardens natural and weakened nails, allowing them to grow out while strengthening them. Nail Plump feels like a thin layer of acrylic or hard gel, giving nails the protection, they need to avoid further damage from daily tasks, nail-biting, or picking. If you want longer nails during the growth process, I totally understand; apply Nail Plump over nail tips for fast & easy nail extensions.
How to Apply Nail Plump to Natural Nails
Here are five steps to apply Nail Plump to your client’s nails.
Step 1: Gently remove the shine with a 180 Zebra file
Step 2: Dust off the nail with a plastic manicure brush
Step 3: Apply a thin coat of Nail Plump and cure (one minute LED or two minutes UV)
Step 4: Apply 1-3 thin coats (depends on the client’s nail needs)
Step 5: Finish with gel polish, nail polish, or leave clear
I’ve included a video tutorial here: Nail Plump Video
4 Maintenance Is a Must
Growing out and strengthening nails is a process and, like many other things, requires proper maintenance to achieve results. Maintain your client’s nail growth every two weeks by reapplying Nail Plump. There are a few ways to do this, depending on the progress of your client’s nails. Watch the easy removal process.
Shop the Removal Kit
Option 1: Soak off gel polish. Nail Plump will soak off with the gel polish. Reapply with your gel manicure.
Option 2: File off the gel polish, leaving a thin layer of nail plump. Reapply.
Option 3: File surface, remove shine with a 190 Zebra, dust, and apply 1-2 coats of nail plump.
Shop this look: Deluxe Nail Plump Kit

Comments